Children’s Beginning Sewing Class

CHILDREN'S BEGINNING SEWING CLASS (Session 1)

In this class, children will learn the basics of machine sewing by creating their own pillowcase. They will be guided through the process of measuring, cutting fabric, and sewing the pieces together.

Class Description:

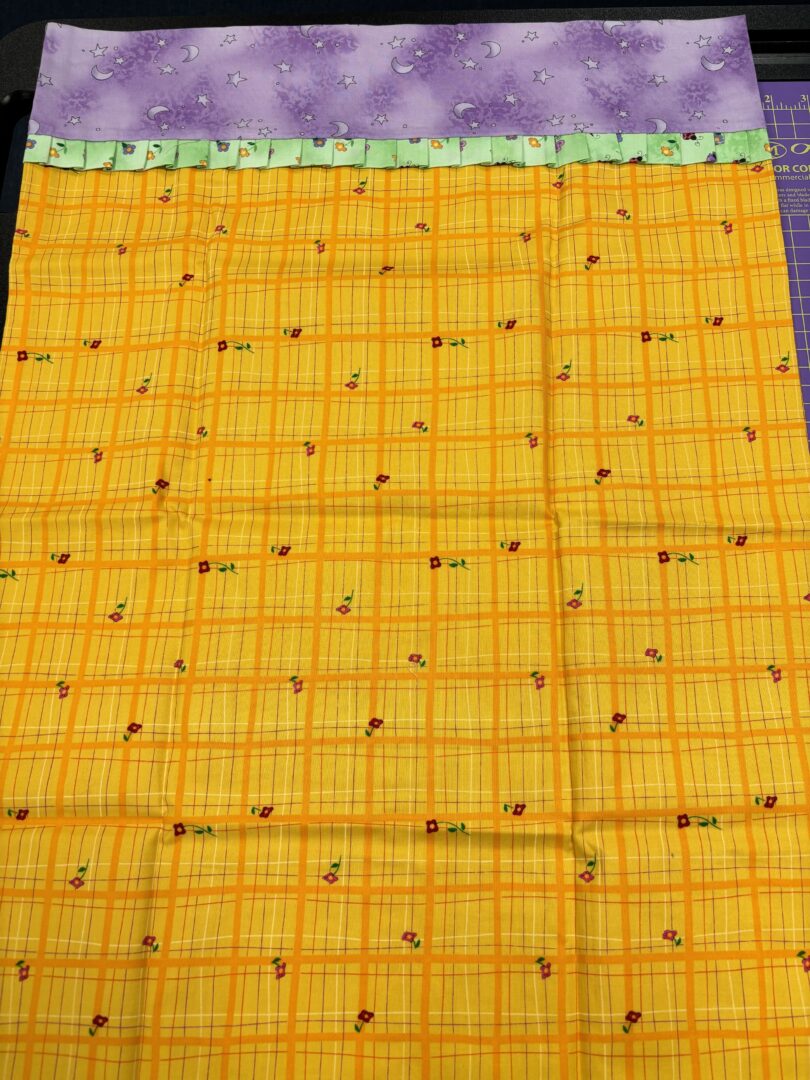
Child Sewing Class: Pillowcase Project

This class will be two sessions 3-22-25 & 3-29-25 $30.00 each

Objective:
In this class, children will learn the basics ofย  machine sewing by creating their own pillowcase. They will be guided through the process of measuring, cutting fabric, and sewing the pieces together.

Materials Needed:

  • 1 yard of fabric basic color and 1/3 of a yard coordinating fabric
  • Sewing machine
  • Scissors
  • Pins
  • Measuring tape or ruler
  • Fabric chalk or a pencil (for marking)

Step-by-Step Instructions:

1. Introduction to Sewing Tools:

  • Show the children the basic sewing tools: scissors, thread, pins, needles, fabric, and the sewing machine.
  • Explain how each tool is used.
  • Demonstrate basic safety (handling scissors, needles, and sewing machines carefully).

2. Preparing the Fabric:

  • Step 1: We willย have the children choose their fabric. They can pick fun patterns or solid colors they like.
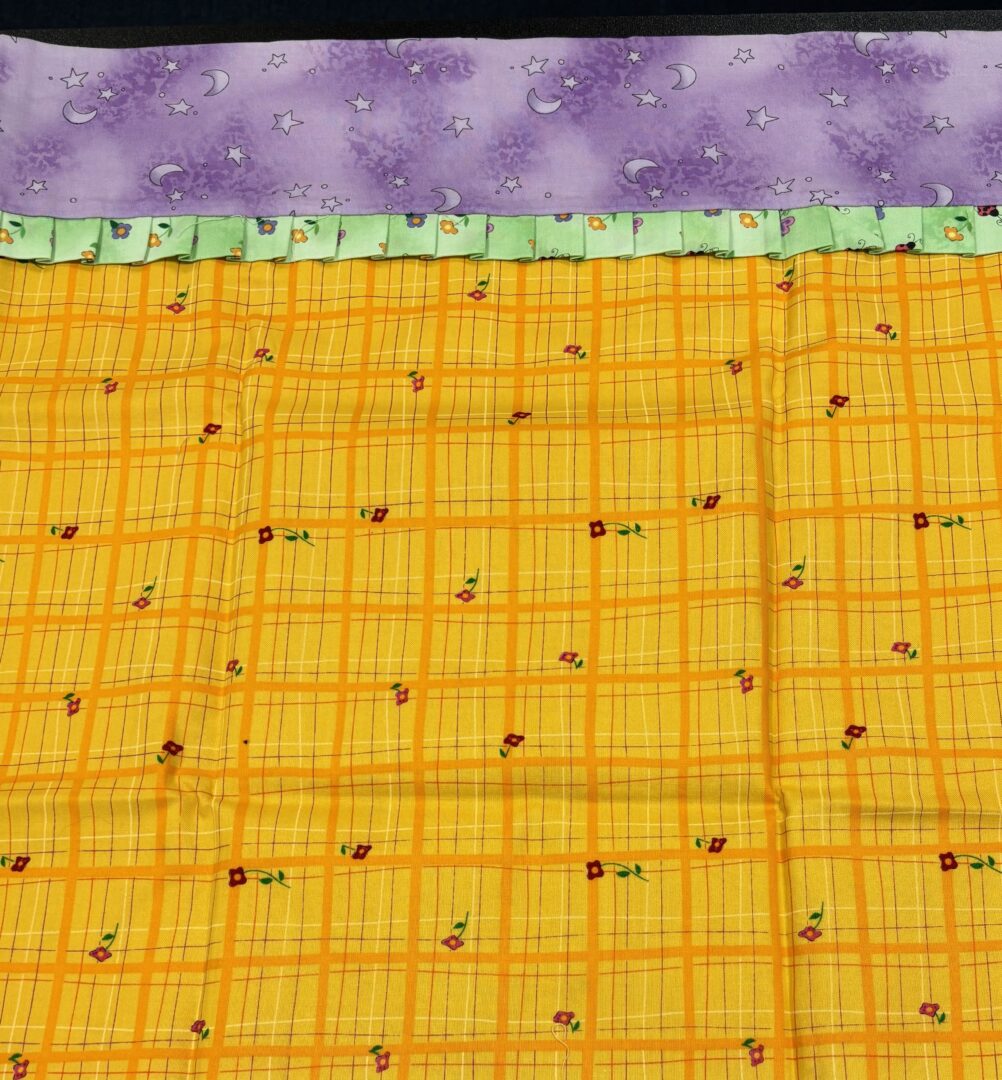
  • Step 2: We will Measure the fabric for a standard pillowcase (20″ x 30″ pillow)

3. Cutting the Fabric:

  • We will help the children carefully cut along the lines using fabric scissors.
  • Make sure the edges are straight and clean.

4. Sewing the Hem:

  • Machine Sewing: We will set the sewing machine to a straight stitch.

5. Assembling the Pillowcase:

  • Step 1: Fold the fabric in half so that the right sides are facing each other
  • Step 2: Pin along the side and bottom edges of the fabric.
  • Step 3: Using a sewing machine or hand-sewing, sew along the pinned edges, leaving about a 1/2 inch seam allowance. Make sure to leave the top open.
  • Step 4: Trim the corners to remove excess fabric and make the corners pointy.

6. Turning the Pillowcase Right Side Out:

  • Turn the pillowcase inside out so that the seams are on the inside and the pretty fabric is on the outside. You can use a pencil or a chopstick to gently push out the corners.

7. Pressing and Final Touches:

  • Press the entire pillowcase with an iron to smooth out any wrinkles.
  • If there are any loose threads, trim them off for a neat finish.

8. Enjoy Your Pillowcase!

  • Let the children put their pillowcases on pillows and take them home!

Key Details:

  • Instructor: LINDA BOWMAN
  • Skill Level: Beginner
  • Techniques Used: Sewing
  • Available Spots: 4
  • Price: $30.00

End Product: Pillow Case

Reserve Your Spot: Spots are limited! Make sure to reserve your seat today.

How to Register This Class


Step 1: Complete the Registration Form

  • Fill out all required fields, including your name, email address, and phone number. This information ensures we can properly register you for the class and send you any important updates.

Step 2: Submit Your Registration

  • Once the form is completed, click the “Submit Registration” button to finalize your registration.
  • After submitting the form, you will receive a confirmation email with all the details about the class. Please save this email as it will serve as your proof of registration.

Step 4: Instructor Follow-up

  • Your instructor, LINDA BOWMAN, will give you a follow-up call to answer any questions you may have and provide additional details about the class. This is a great opportunity to ensure you’re fully prepared for the session.

We look forward to seeing you in the class!

Reserve Your Spot Your Spot Here!

By submitting this form you agree to our Privacy Policy

Take a Look at Sewing Classes Offered at Best Sewing & Vacuum Stores

Large Zipper Case

The perfect organiser pocket for all your sewing and embroidery supplies! This in the hoop machine embroidery design is made for the 5x7 6x10 7x11 8x12 hoops.
View Class Info โ†’

Sit and Sew Thursday

Join us for our Sit and Sew Thursday sessions, a relaxed and creative gathering for sewing enthusiasts of all levels! Whether you're a beginner or a seasoned pro, this is the perfect opportunity to work on your projects, share ideas, and connect with fellow crafters.
View Class Info โ†’

Brother Scan N Cut Basics: Snowman Shadow Box

December 18, 2025 at 10:00 AM. Learn the basics of using your Brother Scan N Cut. We will be making a small snowman shadow box. You will also learn a few tricks on how to keep your blade sharper and mats clean.
View Class Info โ†’

Nativity Silhouette Wall Hanging

December 10, 2025 at 9:30 AM. This is a beautiful Christmas wall hanging or table runner with a Nativity scene applique that is sewn in the 6x10, 7x12 or 9.5x14 hoop.
View Class Info โ†’
Shopping Cart
Scroll to Top